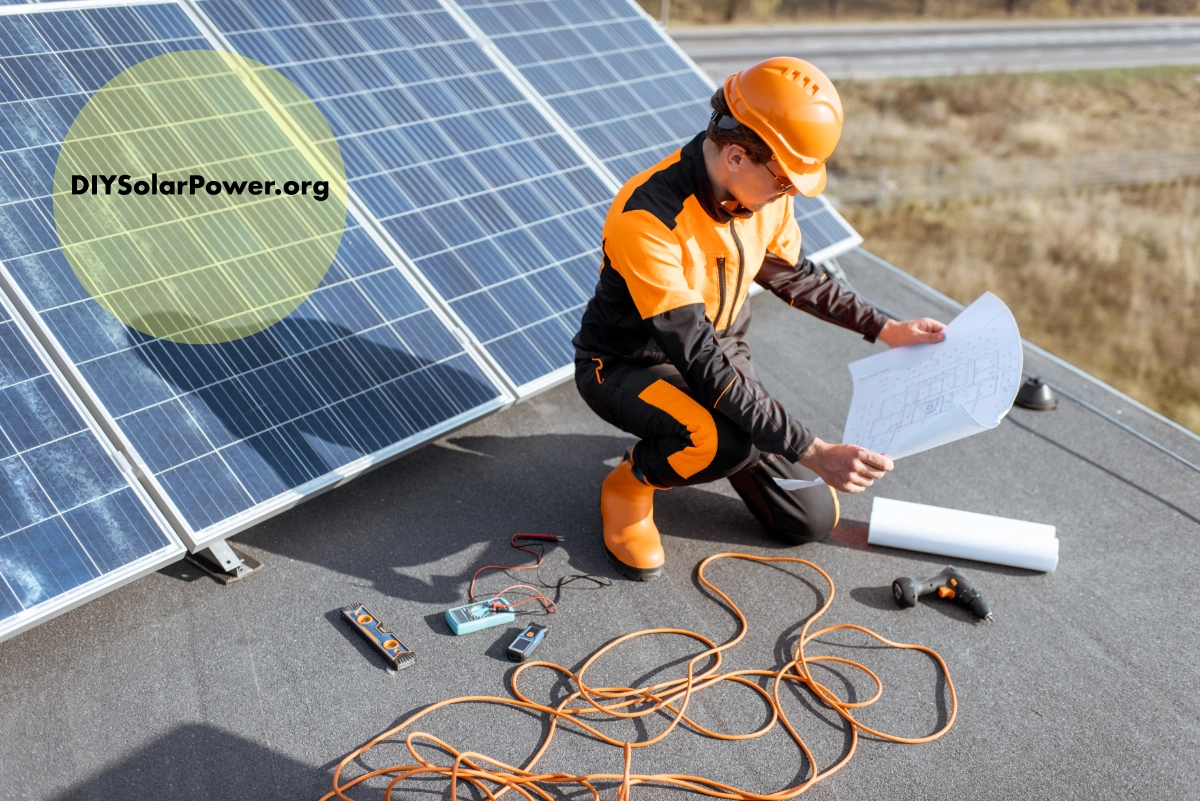
Embarking on a DIY solar installation project is an exciting journey towards sustainability and energy independence. However, the complexity of the task requires not only a solid understanding of solar technology but also the right tools in your arsenal. As an expert in solar technology, I aim to guide you through the top 10 essential tools that are paramount for any DIY solar installation. These tools not only ensure a smooth installation process but also contribute to the longevity and efficiency of your solar power system.
1. Multimeter
A multimeter is an indispensable tool for anyone dealing with electrical installations, and solar setups are no exception. This versatile instrument allows you to measure voltage, current, and resistance, which are critical for ensuring your solar panels and electrical components are functioning correctly. A reliable multimeter can help diagnose issues, verify system performance, and ensure the safety of your installation by detecting potential electrical hazards.
2. Solar Panel Crimping Tool
The integrity of your solar system’s electrical connections significantly influences its performance. A solar panel crimping tool is designed specifically for creating secure and durable connections between your solar panels and the wiring. This tool ensures that the metal connectors are perfectly crimped to the cable, reducing the risk of loose connections that could lead to inefficiencies or even safety hazards.
3. Drill and Drill Bits
Installation of solar panels often requires mounting brackets to be securely fastened to your roof or installation surface. A high-quality drill, along with a set of drill bits designed for your specific surface type (e.g., wood, metal, or concrete), is essential for creating pilot holes for the mounting hardware. Ensuring you have the right drill bits for the material you’re working with is crucial for a secure installation.
4. Wire Strippers
Wire strippers are essential for preparing cables for connections. When installing a solar power system, you’ll often need to strip the insulation from wires to make electrical connections, whether for attaching connectors, linking panels together, or connecting to your battery storage system. A good pair of wire strippers can make this task quick, accurate, and safe.
5. Torque Wrench
A torque wrench is vital for ensuring that all bolts and nuts in your solar panel installation are tightened to the manufacturer’s specified torque. This precision tool helps prevent over-tightening, which can damage components, or under-tightening, which can lead to loose connections over time. Using a torque wrench contributes to the structural integrity and durability of your solar installation.
6. Safety Equipment
While not a tool in the traditional sense, safety equipment is absolutely essential for any DIY solar installation project. This includes items such as safety glasses to protect your eyes from debris, gloves to safeguard your hands from sharp edges and electrical components, and a harness if you’re working at heights. Ensuring your personal safety should always be a priority during any installation work.
7. Level
A level is crucial for ensuring that your solar panels are installed perfectly horizontally or at the correct angle for maximum sun exposure. Proper alignment of your panels directly affects their efficiency and energy production. Even a slight tilt can significantly impact the performance of your solar system, making a level one of the most critical tools in your kit.
8. Cable Ties and Clips
Cable management is key to a neat and safe solar installation. Cable ties and clips help secure wiring to the solar panel frames, along the mounting structure, and to the roof, preventing damage from environmental exposure or animals. Proper cable management also facilitates future maintenance and troubleshooting by keeping your installation organized.
9. Solar Path Finder
A solar pathfinder is a tool used to analyze the solar potential of your installation site. It helps identify the optimal placement for your solar panels by mapping out the sun’s path and highlighting any potential shading issues from trees, buildings, or other obstacles. This tool is invaluable for maximizing your solar system’s efficiency by ensuring your panels receive the most sunlight possible throughout the year.
10. Impact Driver
An impact driver is another essential tool for the physical installation of your solar panels. It’s particularly useful for driving screws into hard materials with greater ease than a standard drill. When mounting your solar panels or securing the racking system, an impact driver can save time and reduce the effort required, making the installation process smoother and faster.
Conclusion
Equipping yourself with the right tools is the first step towards a successful DIY solar installation. Each tool plays a unique role in the process, from planning and preparation to the physical installation and maintenance of your solar power system. While the initial investment in these tools may seem significant, the long-term savings and satisfaction of powering your home with renewable energy are immeasurable. Remember, a well-planned installation not only maximizes the efficiency of your solar panels but also ensures their longevity and safety. As you embark on your solar journey, let these tools empower you to create a sustainable energy solution for your home.